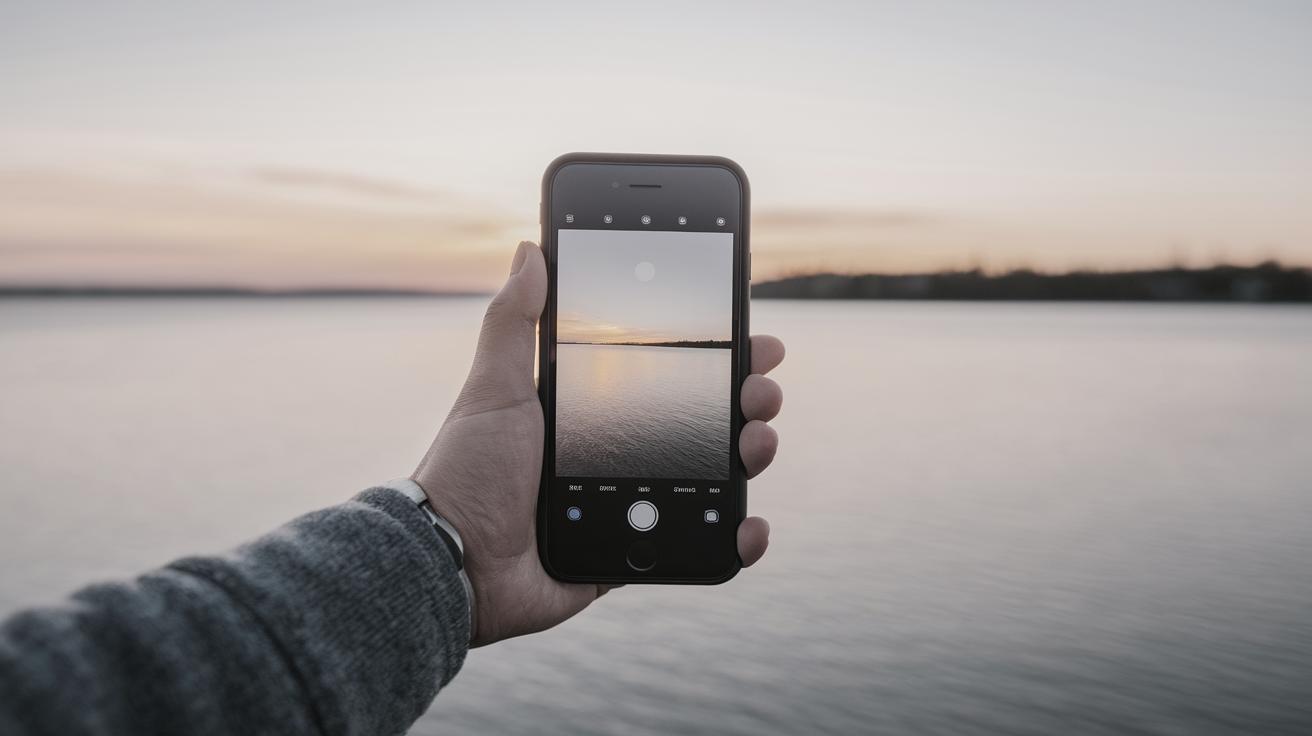
How to Take Sharp Photos with a Smartphone
With the rising quality of smartphone cameras, almost everyone has the tools to capture stunning photos at their fingertips. However, even the best smartphone cameras require certain techniques to achieve optimal sharpness in your images. This blog post delves into essential tips and tricks to help you capture crystal-clear photographs using your smartphone. These strategies include maintaining a steady grip, getting closer to your subject, focusing with precision, shooting in optimal lighting, and enhancing your photos with apps. By integrating these methods into your photography process, you’ll ensure that your mobile photography stands out with remarkable clarity, allowing you to capture the world around you in exquisite detail.
Hold it Steady
One of the fundamental aspects of capturing sharp images involves minimizing any movement while shooting. The most common cause of blur in photos is camera shake, which can occur if your hands aren’t steady when you take the shot. To combat this, grip your phone with both hands rather than holding it with just one. This provides greater stability and control. For additional support, consider resting your elbows on a solid surface or tucking them into your body to keep the camera as still as possible.
If you have access to one, a smartphone tripod is an excellent tool for keeping your device stable, especially for low-light conditions where longer exposure times are required. Tripods can conveniently sit on different surfaces, ensuring your phone remains perfectly still while capturing the shot. If you don’t have a tripod, improvise by propping your phone against a stable object or using a self-timer to avoid pushing the shutter button and causing movement.
Get Closer
Digital zoom might seem like a handy feature when trying to zero in on a subject, but using it can often result in a significant drop in image quality. Instead of zooming in digitally, physically move closer to your subject whenever possible. This approach not only preserves the image resolution but also allows you to engage with your subject more intimately and capture finer details that might otherwise be missed.
Moreover, by getting closer, you can reduce the chance of image distortion that sometimes occurs when relying on digital zoom. Getting nearer creates a more immersive perspective, and any textures or intricate elements within your frame can be captured crisply. Be mindful, though, not to encroach too much into the subject’s space; balance proximity with composition sensibility to maintain sharpness and clarity.
Focus Carefully
Smartphones are equipped with impressive autofocus systems, but they aren’t infallible. It’s vital to take control of the focus to ensure your subject is sharply defined. To do this, simply tap on the screen where you want the phone to focus. This ensures that the subject is in the sharpest part of the frame. Most smartphones give a visual indication of the focus being set, often with a small box or circle. Utilizing this manual focus feature is particularly useful in scenes where the camera’s autofocus might target the wrong area.
Be aware of your depth of field, especially when photographing a scene with various layers. Your phone camera’s lens might have limitations regarding depth, so pinpoint the most crucial area to maintain clarity. Shooting in good light, as discussed in the next section, can also aid in achieving accurate focus, enabling your smartphone camera to perform to its fullest potential.
Shoot in Good Light
Lighting plays a critical role in photography, and shooting in well-lit conditions will significantly enhance the sharpness of your images. Natural light, particularly during the golden hours shortly after sunrise and before sunset, provides a soft, warm glow that enhances colors and minimizes harsh shadows. Whenever possible, position your subject near a window or in an external environment during these times.
In situations where natural light is inadequate, consider using additional light sources such as lamps or reflectors to brighten your subject. Avoid relying on your phone’s built-in flash, as it can often create excessive noise or unwanted reflections. Good lighting allows your smartphone’s camera to employ a faster shutter speed, reducing the likelihood of motion blur and ensuring your photos are crisp and well-defined.
Sharpen with Apps
After capturing your photo, post-processing can further enhance its sharpness. Many smartphone apps, such as Snapseed, Adobe Lightroom, and VSCO, offer robust editing tools designed to improve image clarity. These apps often include sharpening filters that enhance the details of a photo without introducing excessive noise. Careful use of these sharpening tools can bring out the intricate textures and nuances of your image, making it appear more striking and professional.
In addition to sharpening tools, these apps provide adjustments for contrast, brightness, and saturation, which collectively contribute to the perceived sharpness of an image. By fine-tuning these settings, you can ensure your final photo retains its natural vibrancy and detail. Using these editing solutions elevates your pictures to a higher standard, even if the original capture wasn’t perfectly sharp.
Summary of Main Points
| Point | Description |
|---|---|
| Hold it Steady | Keep your smartphone steady using both hands or a tripod to minimize camera shake and blur. |
| Get Closer | Physically move closer to your subject instead of using digital zoom to maintain image quality. |
| Focus Carefully | Manually select your focus point on the smartphone screen to keep the subject sharply defined. |
| Shoot in Good Light | Ensure good lighting levels by using natural light or external sources, avoiding the smartphone flash. |
| Sharpen with Apps | Use editing apps to enhance sharpness and adjust image details for a clearer final product. |


